In my opinion, all of the Ski amadé mountains have done it once again, with a most beautiful coat of white. The temperatures allow the snow canons to work at their best and thereby getting the season off to a great start. With one or another ski resort already having opened their lifts, enabling the first ski hungry skiers to make the most of the pre-season skiing.
To get everything into gear, we first of all have to check all the equipment in the cellar and here we will take a short look at everything which needs to be done.
In an ideal scenario, well at least one or two of us at least has done this, that before you store your equipment away for the winter, it has had a generous layer of wax on it and the coating has not been pulled off. Simply to give the ski or snowboard a layer of protection for the surface and edges.

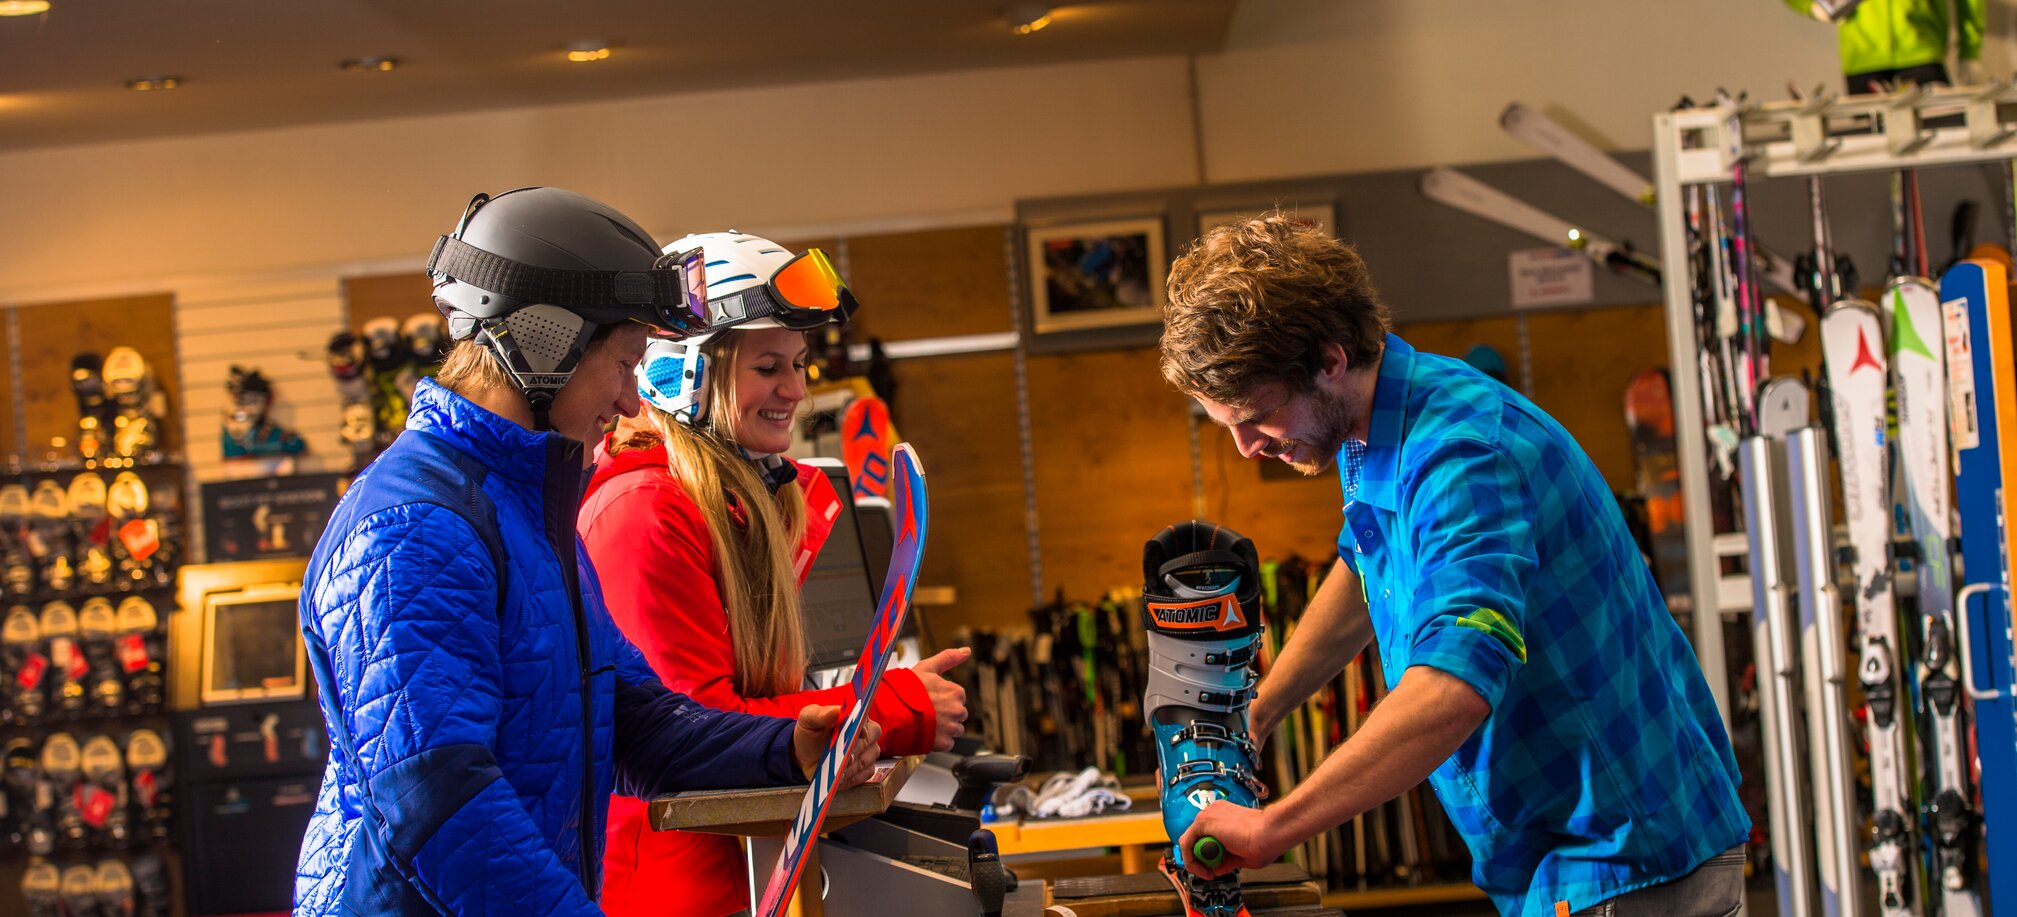
...or in a suitable boot bag, so that they keep their shape and then putting on the boots at the start of the ski season will not be too troublesome. For those of you who would not like to do the work themselves or for those who do not have the right tools or know-how, then it is best to give your equipment to a trusted sports shop and depending on the state of your equipment either get a small or a big service done.
Basically, as a rule of thumb, if the surface does not have any deep ruts or traces of the forest routes on the kid’s skis, then in most cases a small service will do. The edges are then sharpened and the surface is waxed.
For those, who like me, look forward to restoring their own equipment, can do the following:
- Clamp down and then brush off the old layer of wax with a copper brush.
- Briefly wipe over it and using an old iron from your mother (program for wool/silk or 2 points) or using an iron specifically designed for this purpose at about 120-130 degrees, drip the wax sparingly over the surface.
- Using a wax fleece (I have also had good experience with blotting paper or baking paper, where you put the iron on the paper and pull it over the surface), evenly spread out the wax drips over the surface. You know you have the right temperature when the wax flows but does not smoke. With your free hand, feel here and there on the upper side if it is getting warm and then do not heat this point anymore.
- Let it cool down for half an hour, pull off the wax with a suitable scraper and then using the copper brush expose the structure again.
As previously alluded to, should you have deep scratches on the surface, then you can repair these using a so-called Repair Stick first of all. All you have to do is hold the iron against the repair stick and let the drops drip into the damaged parts.
...with a suitable tool and finally there is the binding. If your weight has not changed nor your skiing ability since the previous year, then you can simply leave it how it is, presuming that no new ski boot has been bought, which the binding needs to be adjusted to. For those that this is not the case or rather are preparing the skis for the next generation should get the ski settings list (Z-value table) off the internet and then set the binding according to this and to the weight of the offspring.
Of course, you can get this done at a trusted ski shop and then you are guaranteed that it is absolutely right. Especially with youngsters, I have personally experienced that, for example, schools require an inspection certification of sorts from a ski specialist company before pupils can go on a ski trip.
Those of you who like to dabble on Youtube and such like can find an abundance of tutorials. Simply have a look through whilst drinking a cup of tea and find a suitable and coherent video as a step by step guide for you to use. There are definitely hundreds…but remember: „No Guts, no Glory!“


